
Baked this for my cousin whose birthday is on 1 March.

My five shades of pink batter.

Mixing the pink buttercream.
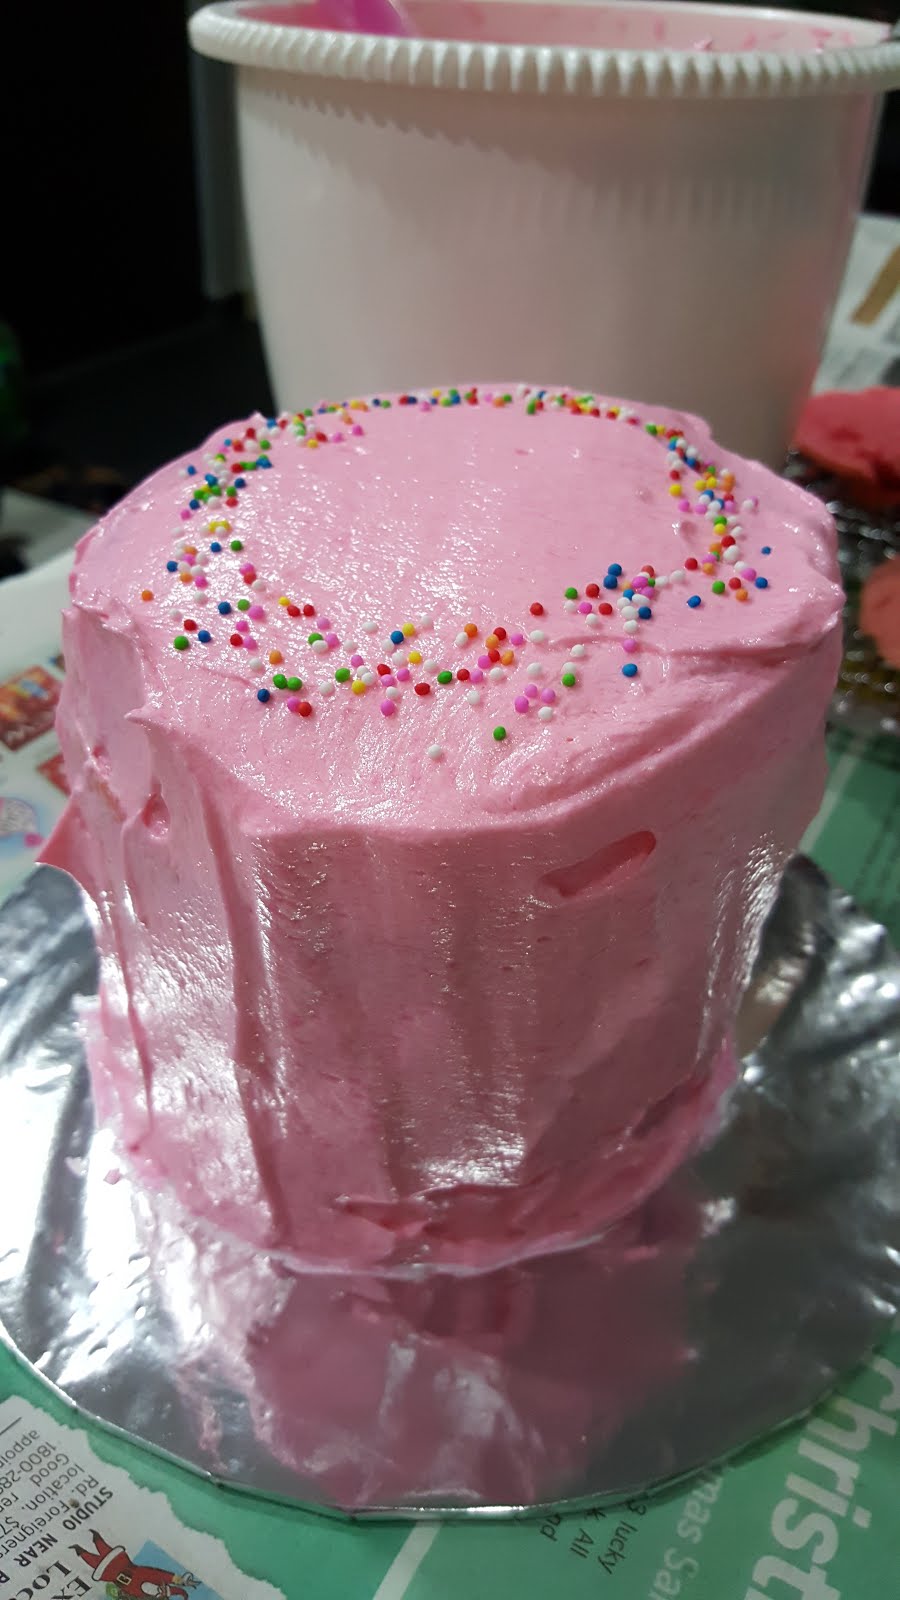
Sorry for the ugly frosting.


Done and packed in cake box that I bought from Phoon Huat.
Special thanks to Dianna who is a stay at home super busy mum, who guided, inspired me into baking.
Ingredients
- 1 cup (250g) unsalted butter, softened
- 2 cups sugar - I reduced this to 1.5 cups
- 4 large eggs, at room temperature
- 1 1/2 cups self-rising flour
- 1 1/4 cups plain flour
- 1 cup milk - I used low fat milk
- 1 tsp. vanilla extract
Instructions
- Preheat oven to 170C. Grease and lightly flour three 9-inch round cake pans, then line the bottoms with waxed paper. - I used 5 6-inch round cake pans.
- To make the cake: In a large bowl, on the medium speed of an electric mixer, cream the butter until smooth.
- Add the sugar gradually and beat until fluffy, about 3 minutes.
- Add the eggs one at a time, beating well after each addition.
- Combine the flours and add in four parts, alternating with the milk and the vanilla extract, beating well after each addition.
- Divide batter into 5 portions. Tint with choice of colours. Bake for 20 to 25 minutes or until a cake tester inserted into center of cake comes out clean. - I baked my cakes for about 18-20 minutes
- Let cakes cool in the pans for 10 minutes.
- Remove from pans and cool completely on wire rack.
- To assemble, trim tops of cakes to level the cakes. Stack cakes, starting with the darkest colour at the bottom. Add thin layers of buttercream between layers. Frost the exterior of cake with buttercream (tinted if desired). Add sprinkles, if desired.
Notes
- If you're making cupcakes, line two 12-cup muffin tins with cupcake papers. Spoon the batter into the cups about three-quarters full. Bake until the tops spring back when lightly touched, about 20 to 22 minutes. Remove cupcakes from pans and cool completely on a rack before icing. When cake has cooled, ice between the layers, then ice top and sides of cake.
Adapted from Magnolia Bakery's Traditional Vanilla Birthday Cake
Vanilla Buttercream Cheese
http://thedomesticgoddesswannabe.com/2013/11/swiss-meringue-buttercream/
Ingredients
- 5 large egg whites
- 1 1/2 cup (300g) sugar
- 454g unsalted butter, sliced and softened
- 1/4 teaspoon salt
- 1/2 teaspoon (2.5ml) vanilla extract
Instructions
- Combine egg whites and sugar in a stand mixer bowl and place it over (not on) simmering water. Heat mixture to 160F while whisking constantly.
- Transfer mixer bowl to stand mixer, fitted with a whisk attachment and beat on medium high speed until mixture cools, doubles in volume and forms stiff peaks; about 10-12 minutes.
- Add butter in one piece at a time, mixing to incorporate after each addition. The mixture may appear clumpy and almost curdled looking at first—this is normal. Keep mixing and it will become even and smooth again.
- Add salt and flavoring, mix to combine.
Notes
- The buttercream can be stored in air-tight containers and left at room temperature overnight, in the fridge for 3 weeks and in the freezer for up to 3 months. If chilled or frozen, thaw in the fridge and bring to room temperature before whisking the cream to buttercream consistency before using.
- Swiss Meringue buttercream can be used to frost cakes/cupcakes in advance and the cakes/cupcakes can be left in an air-conditioned room. The buttercream will hold.
- Swiss Meringue buttercreams must be eaten at room temperature.
- You can add any food coloring to the buttercream then whisk to incorporate.
- If the buttercream looks like it had curdled, just keep mixing and it will come together and become smooth.
- If the buttercream is too runny, place it in the fridge for about 10-15 minutes, then continue mixing.
Adapted from bakersroyale